
topvision security camera manual
Welcome to the TopVision Security Camera Manual‚ your comprehensive guide to installing‚ configuring‚ and using your camera effectively. This manual covers setup‚ features‚ troubleshooting‚ and best practices for secure surveillance‚ ensuring optimal performance and peace of mind.
Overview of the Manual and Key Features
This manual provides a detailed guide for setting up and using your TopVision security camera. It covers installation‚ configuration‚ and advanced features like motion detection‚ live streaming via RTSP‚ and ONVIF support. The manual also includes troubleshooting tips and security best practices to ensure your system runs smoothly and securely. Key features include remote monitoring‚ IP configuration‚ and compatibility with various surveillance software. This comprehensive resource helps you maximize your camera’s potential for home or business security.
- Covers installation and setup steps
- Explains mobile app configuration
- Details remote monitoring and surveillance
- Includes advanced configuration options
- Provides troubleshooting solutions

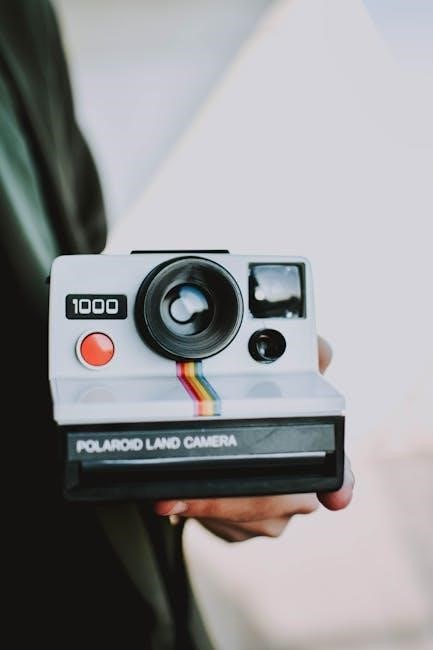
Installation and Setup
Setting up your TopVision camera is straightforward. Follow the manual for DIY installation‚ requiring a DC 12V power supply‚ and pair the camera with your NVR for seamless monitoring easily.
Hardware Installation Steps
Begin by ensuring a stable DC 12V power supply for your TopVision camera. Mount the device in a strategic location‚ such as a wall or ceiling‚ for optimal coverage. Connect the camera to your NVR using the provided cables‚ ensuring secure wiring. Follow the manual’s guidelines for proper installation to avoid interference and ensure reliability. Position the camera to minimize blind spots and secure the wiring to prevent tampering or damage. Refer to the manual for specific mounting and connection instructions tailored to your model.
Connecting the Camera to Your Network
To connect your TopVision camera to your network‚ first pair it with your NVR using the provided cables. Ensure both devices are powered on and connected to the same network. Access the camera via its IP address in your browser or through the mobile app. For wireless setup‚ enter your Wi-Fi password in the app or camera settings. Ensure a stable internet connection for seamless live streaming and remote access. Refer to the manual for detailed steps on network configuration and troubleshooting connectivity issues.
Mobile App Configuration
Download and install the app from the App Store or Google Play‚ then pair your camera to access live streaming‚ settings‚ and alerts.
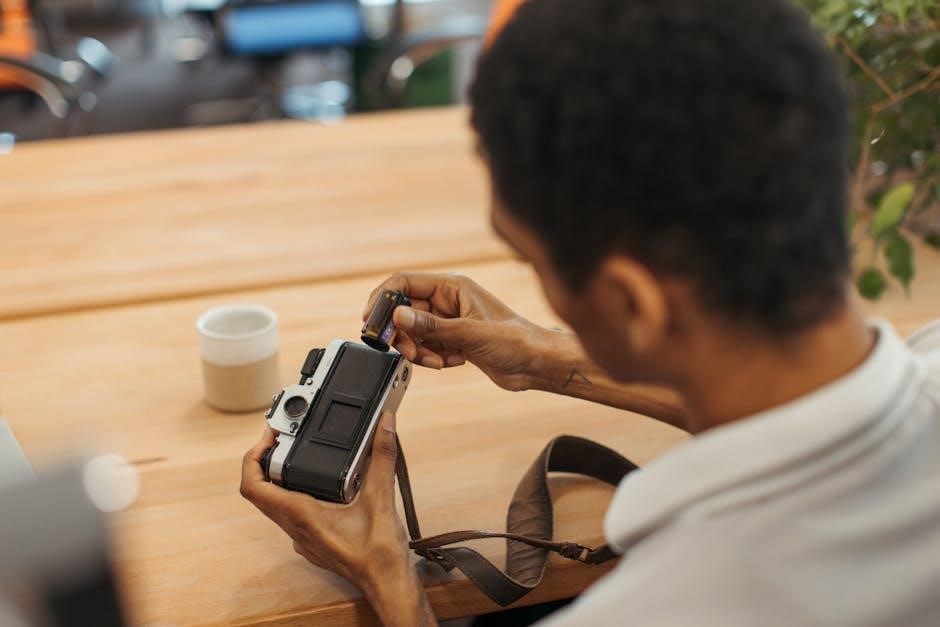
Downloading and Installing the Mobile App
To begin‚ download the TopVision mobile app from the App Store (for iOS) or Google Play Store (for Android). Open the store‚ search for “TopVision‚” and select the official app. Once found‚ click “Download” or “Install” to start the process. Wait for the installation to complete‚ then launch the app. Ensure your device is connected to the same Wi-Fi network as the camera. The app will guide you through pairing your camera‚ enabling features like live streaming and motion alerts. Check for updates to ensure you have the latest version for optimal functionality.
Pairing the Camera with the App
Ensure your camera and smartphone are connected to the same Wi-Fi network. Open the TopVision app‚ select “Add Camera‚” and enter the camera’s IP address or scan the QR code located on the camera or in the manual. Follow the in-app instructions to complete the pairing process. The app will guide you through authentication and configuration‚ enabling features like live viewing and motion alerts. Once paired‚ you can access your camera’s feed remotely and manage settings directly through the app.
Remote Monitoring and Surveillance
Remote monitoring and surveillance enable users to oversee their property remotely via the TopVision app‚ ensuring real-time security and peace of mind from any location.
Live Video Streaming via RTSP
Live video streaming via RTSP enables seamless access to your camera’s feed remotely. This feature allows you to monitor real-time footage using compatible third-party software or devices. To set up RTSP streaming‚ ensure your camera is connected to the network and configure the RTSP port settings; You can then input the RTSP URL in your preferred media player or surveillance software. This functionality is ideal for integrating your TopVision camera into existing security systems or for direct monitoring on mobile devices or computers. Refer to the troubleshooting section for resolving connectivity issues.
Enabling Motion Detection Alerts
Enhance your security setup by enabling motion detection alerts‚ which notify you of any movement captured by your TopVision camera. To activate this feature‚ access the camera settings via the mobile app or web interface. Adjust sensitivity levels to minimize false alerts. Once enabled‚ the camera will trigger alerts and optionally record video clips when motion is detected. This feature is crucial for timely responses to potential security breaches‚ ensuring your property remains protected around the clock with real-time notifications.

Advanced Configuration Options
Explore advanced settings to customize your camera’s functionality‚ including ONVIF support for universal compatibility and network configuration options like IP address‚ subnet mask‚ and gateway setup.
Setting Up ONVIF Support for Universal Compatibility
ONVIF support enables universal compatibility with third-party surveillance systems. To configure‚ access the camera’s settings‚ enable ONVIF protocol‚ and set up the IP address‚ subnet mask‚ and gateway. Ensure the camera is connected to the same network as your NVR or monitoring software. Once configured‚ the camera can integrate seamlessly with other ONVIF-conpliant devices‚ providing enhanced flexibility and centralized control for your security system. Refer to the manual for detailed steps to activate and optimize ONVIF functionality for compatibility with various platforms.
Configuring IP Address‚ Subnet Mask‚ and Gateway
To ensure proper network connectivity‚ configure the camera’s IP address‚ subnet mask‚ and gateway. Access the camera settings via its web interface or mobile app. Assign a static IP address within your network range‚ typically starting with 192.168.x.x or 10.x.x.x. Set the subnet mask (usually 255.255.255.0) and gateway (router’s IP). Save changes and restart the camera. Verify connectivity by pinging the IP address or accessing the camera’s live feed. Refer to the manual for default login credentials and detailed configuration steps to avoid common setup errors.
Troubleshooting Common Issues
Encounter issues? Start by checking power and network connections. Restart the camera and router. Ensure firmware is updated. Consult the manual for detailed solutions to common problems like connectivity failures or video feed issues. Verify IP settings and subnet configurations. If unresolved‚ reset the camera to factory settings or contact technical support for assistance; Regularly checking logs and event history can help identify recurring problems. Always refer to the troubleshooting section in the manual for step-by-step guidance tailored to your TopVision camera model.
Resolving Connectivity Problems
To resolve connectivity issues‚ first ensure the camera is powered on and connected to your network. Check the Wi-Fi signal strength and restart both the camera and router. Verify the camera’s IP address‚ subnet mask‚ and gateway settings are correct. Update the camera’s firmware to the latest version. If issues persist‚ reset the camera to factory settings or consult the manual for detailed troubleshooting steps. Ensure all network configurations align with your router’s requirements. If problems remain unresolved‚ contact technical support for further assistance.
Resetting the Camera to Default Settings
To reset your TopVision camera to factory settings‚ locate the reset button on the camera’s body. Use a pin or small tool to press and hold the button for 10-15 seconds until the indicator lights flash. Release the button and wait for the camera to reboot. Once restarted‚ all settings will be restored to default. Note that this process will erase all custom configurations‚ so you will need to reconfigure the camera. Refer to the setup section for guidance on reconnecting and reconfiguring your device.
Security and Privacy
Protect your TopVision camera by using strong‚ unique passwords and enabling WPA3 encryption. Regularly update firmware and restrict access to trusted devices only for enhanced security.
Best Practices for Securing Your Camera
To ensure your TopVision camera remains secure‚ always change default login credentials and use strong‚ unique passwords. Enable WPA3 encryption for network connections and regularly update firmware to patch vulnerabilities. Place cameras in tamper-proof locations and restrict access to trusted devices only. Disable unnecessary features like remote access when not in use. Log out of the app after each session and monitor activity logs for suspicious behavior. These practices help safeguard your camera from unauthorized access and potential breaches.
Understanding Default Login Credentials
The TopVision security camera comes with default login credentials to access its settings. Typically‚ the username and password are both set to “admin” for initial setup. It is crucial to change these default credentials immediately after the first login to enhance security. Failing to do so may expose your camera to unauthorized access. Refer to the manual or manufacturer’s website for specific default values and instructions on updating them. If the default credentials do not work‚ contact customer support for assistance.