
avent bottle sterilizer instructions
Overview of the Product and Its Importance for New Parents
The Philips Avent Bottle Sterilizer is a convenient and efficient solution for sterilizing baby bottles and accessories‚ ensuring a hygienic environment for your infant’s feeding needs․
The Philips Avent Bottle Sterilizer is a must-have for new parents‚ offering a fast and effective way to sterilize baby bottles‚ teats‚ and accessories․ Designed for convenience and safety‚ it eliminates 99․9% of germs in just 2-3 minutes‚ ensuring a hygienic environment for your baby’s feeding needs․ Its compact design and ease of use make it ideal for busy parents who prioritize their baby’s health․ By maintaining cleanliness and preventing the growth of harmful bacteria‚ the Avent Sterilizer provides peace of mind‚ allowing parents to focus on their baby’s well-being without the hassle of manual sterilization methods․ It’s a practical addition to any nursery․
Key Features of the Avent Bottle Sterilizer
The Avent Sterilizer offers fast sterilization‚ high capacity‚ and compatibility with various bottle types‚ ensuring efficient and reliable cleaning for baby essentials․
Capacity: Number of Bottles and Accessories It Can Hold
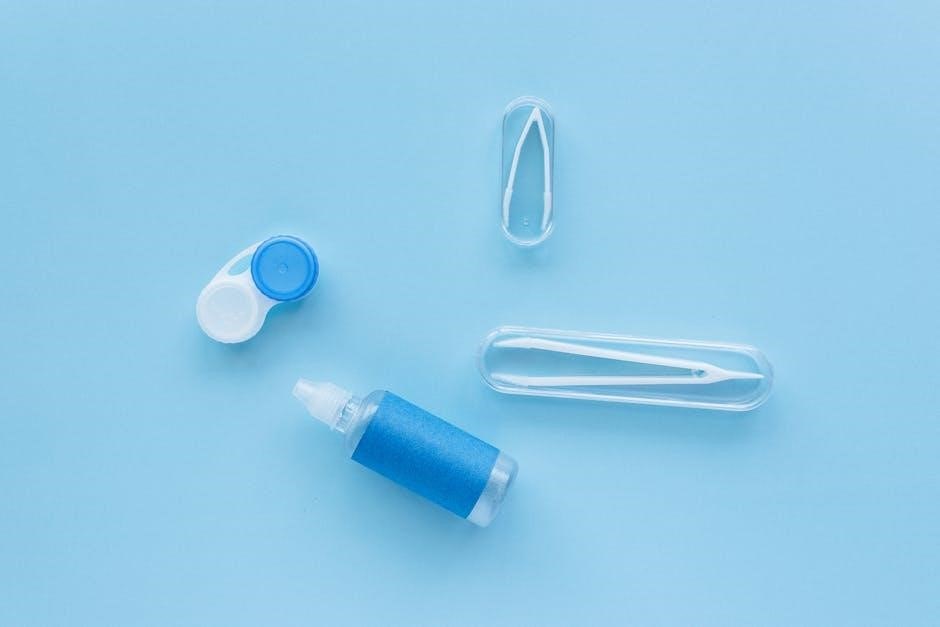
The Avent Bottle Sterilizer can hold up to 6 baby bottles and multiple accessories like teats and caps‚ depending on the model․ It is designed to accommodate various sizes and types of bottles‚ making it versatile for different needs․ The sterilizer basket allows for organized placement of items‚ ensuring proper steam circulation․ This feature is particularly useful for parents who need to sterilize multiple items quickly and efficiently․ The capacity is sufficient for daily use‚ providing a convenient solution for maintaining hygiene in baby care․ Always refer to the user manual for specific capacity details for your model․
Steam Sterilization: How It Works and Its Effectiveness
The Avent Bottle Sterilizer uses steam to kill 99․9% of bacteria and germs‚ ensuring a deep and thorough cleaning process․ Steam penetrates all areas of the bottles and accessories‚ providing effective sterilization․ The process is quick‚ with some models completing a cycle in just 2 minutes․ This method is gentle on items while maintaining high hygiene standards‚ making it ideal for baby products․ The steam sterilization process is also energy-efficient and environmentally friendly compared to other methods․ Regular use ensures that bottles remain free from harmful microorganisms‚ giving parents peace of mind about their baby’s health and safety․
Compatibility: Which Bottles and Accessories Are Suitable
The Avent Bottle Sterilizer is designed to accommodate a variety of baby bottles and accessories‚ ensuring versatility for parents․ It is compatible with Philips Avent bottles‚ including their Natural and Classic ranges‚ as well as other branded bottles that fit within the sterilizer’s capacity․ Additionally‚ it can sterilize teats‚ caps‚ and other feeding accessories‚ provided they are steam-safe․ Always check the manufacturer’s guidelines for non-Avent products to ensure compatibility․ This universal design makes the sterilizer a practical choice for families using multiple brands or types of bottles․ Proper arrangement of items in the basket ensures efficient sterilization․

Safety Precautions When Using the Avent Sterilizer

Always handle the sterilizer with care to avoid burns from hot steam․ Ensure all items are suitable for steam sterilization before use․
Preparing Items for Sterilization: Cleaning and Readiness
Before sterilizing‚ thoroughly clean all bottles‚ teats‚ and accessories with warm soapy water to remove any milk residue․ Disassemble all parts‚ including bottle caps and valves‚ to ensure a deep clean․ Use a soft brush to scrub hard-to-reach areas․ Rinse everything thoroughly under clean running water to eliminate soap traces․ Items must be free from food residue and arranged in a single layer in the sterilizer basket to allow steam to circulate evenly․ Place cleaned items immediately into the sterilizer to avoid re-contamination․ Always refer to the user manual for specific preparation instructions for different types of bottles or accessories․
Proper Loading of the Sterilizer Basket
To ensure effective sterilization‚ place bottles and accessories in the Avent sterilizer basket in a single layer without overlapping․ This allows steam to circulate freely‚ ensuring all surfaces are exposed․ Position openings downward to prevent water from pooling‚ which can lead to moisture retention and potential mold growth․ Arrange items neatly‚ keeping them organized to maximize steam flow․ Do not overload the basket‚ as overcrowding can block steam distribution․ Typically‚ the basket can hold up to four bottles and their corresponding accessories․ Follow the manufacturer’s guidelines for specific item placement to ensure optimal sterilization and drying․ Proper loading is crucial for maintaining hygiene and effectiveness․
Avoiding Burns from Hot Steam During and After Sterilization

When using the Avent sterilizer‚ exercise caution with hot steam‚ as it can cause burns․ Always open the sterilizer lid slowly after the cycle‚ allowing steam to escape before reaching in․ Use oven mitts or tongs to handle sterilized items‚ as they may be extremely hot․ Keep the sterilizer out of children’s reach to prevent accidental burns․ After sterilization‚ let bottles and accessories cool slightly before handling them directly․ Never touch the sterilizer’s heating elements or surfaces during operation․ Proper handling ensures safety and prevents burns‚ making the process hassle-free and secure for both parents and baby․ Always prioritize caution when dealing with hot steam and sterilized items․

Step-by-Step Instructions for Using the Avent Sterilizer
The Avent Sterilizer simplifies baby bottle sterilization with easy-to-follow steps․ Place clean bottles and accessories in the basket‚ set the timer‚ and let steam do the work․ Always handle hot items with care after sterilization․
Assembly and Initial Setup of the Sterilizer
To begin‚ carefully unpack the Avent Sterilizer and wash all components with mild soap and warm water․ Dry thoroughly to prevent water spots․ Place the sterilizer on a flat‚ stable surface and ensure it is properly plugged in․ Before first use‚ familiarize yourself with the parts‚ such as the basket and lid․ Ensure all accessories‚ like bottles and teats‚ are compatible with the sterilizer․ Always follow the user manual for specific assembly instructions․ After setup‚ perform a test run without items to ensure proper function․ This step ensures safety and prepares the sterilizer for effective use in maintaining hygienic conditions for your baby․
Placing Bottles and Accessories in the Sterilizer Basket
When preparing to sterilize‚ place bottles‚ teats‚ and other accessories in the sterilizer basket in a single layer‚ ensuring no items overlap․ This ensures even steam distribution․ Face openings downward to prevent water from collecting inside․ Always clean items before sterilizing to remove any residue․ Use only compatible Philips Avent products or those explicitly designed for this sterilizer․ Proper placement maximizes efficiency and ensures all items are thoroughly sterilized․ Avoid overcrowding‚ as this can reduce effectiveness․ Follow the user manual for specific loading guidelines to maintain optimal performance and safety․
Setting the Timer and Starting the Sterilization Process
Once the sterilizer basket is properly loaded‚ add the recommended amount of water to the sterilizer base․ Ensure the water level aligns with the marked guidelines to avoid overfilling․ Close the lid securely to prevent steam from escaping․ Set the timer according to the manufacturer’s instructions‚ typically 2-3 minutes for a full cycle․ Press the start button to initiate the sterilization process․ The sterilizer will emit steam to kill 99․9% of germs and bacteria․ A beep or light indicator will signal the cycle’s completion․ Allow the steam to dissipate before opening the lid to ensure safety and avoid burns․
Caring for Sterilized Items After the Cycle Completes
Once the sterilization cycle is complete‚ allow the steam to dissipate naturally before opening the lid to prevent burns․ Carefully remove the sterilized items using clean‚ dry tongs or gloves to avoid re-contamination․ Store the sterilized bottles‚ teats‚ and accessories in a clean‚ dry place‚ such as an airtight container or the sterilizer itself․ Ensure no moisture remains on the items before storage․ Avoid touching the sterilized parts to maintain hygiene․ If not using the items immediately‚ keep them sealed to preserve sterility․ This ensures your baby’s feeding equipment remains safe and ready for use․
Maintenance and Care of the Avent Sterilizer
Regular cleaning and descaling are essential to maintain the Avent Sterilizer’s efficiency and prevent mineral buildup․ After each use‚ wipe down the interior with a clean‚ damp cloth to remove any residue․ Descaling every 1-3 months ensures optimal performance and longevity․ Refer to the user manual for specific descaling instructions tailored to your model․ Proper maintenance ensures consistent sterilization results and extends the product’s lifespan․
Cleaning the Sterilizer After Each Use
Regular cleaning of the Avent Sterilizer ensures optimal performance and hygienic operation․ After each use‚ unplug the device and allow it to cool slightly․ Wipe the interior and exterior surfaces with a clean‚ damp cloth to remove any steam residue or water spots․ Avoid using abrasive cleaners or scrubbers‚ as they may damage the sterilizer’s finish․ For tougher residue‚ a mild soap solution can be used‚ but rinse thoroughly to prevent soap buildup․ Ensure all parts are dry to prevent bacterial growth․ Cleaning the sterilizer after each use maintains its efficiency and ensures it remains free from germs and mineral deposits․
Descaling the Sterilizer to Prevent Mineral Build-Up
Descaling your Avent Sterilizer is essential to remove mineral deposits that can accumulate from water․ Over time‚ these deposits can reduce efficiency and performance․ To descale‚ mix equal parts water and white vinegar in the sterilizer basin․ Run a full sterilization cycle to allow the solution to circulate and break down mineral buildup․ After the cycle‚ rinse the sterilizer thoroughly with clean water to remove any vinegar residue․ Repeat this process every 1-2 months‚ depending on usage and water hardness․ Regular descaling ensures optimal performance and prevents damage to the sterilizer‚ keeping it in good working condition for long-term use․
The Philips Avent Bottle Sterilizer is an essential tool for ensuring your baby’s feeding items are clean and safe․ By following proper usage and maintenance‚ it provides efficient sterilization‚ peace of mind‚ and long-lasting performance for parents․ Regular descaling and careful handling are key to maintaining its effectiveness․
Final Tips for Optimal Use and Longevity of the Avent Sterilizer
To maximize the performance and lifespan of your Avent Sterilizer‚ ensure it is placed on a stable‚ heat-resistant surface․ Always use distilled water to minimize mineral buildup․ Regularly check for wear and tear on seals and gaskets‚ replacing them as needed․ Store the sterilizer in a dry‚ cool place when not in use to prevent mold growth․ For optimal results‚ avoid overcrowding the basket and ensure items are properly arranged․ Lastly‚ keep the user manual handy for quick reference and follow descaling schedules to maintain efficiency․ By adhering to these tips‚ you can ensure your sterilizer remains effective for years․