
viper alarm installation guide
Viper alarm systems offer advanced vehicle security and remote start features, ensuring peace of mind for car owners; Professional installation is crucial for optimal performance and reliability. This guide provides a comprehensive overview of the process, tools, and best practices to ensure a smooth and successful setup. Understanding the system’s capabilities and proper installation techniques is essential for maximizing security and convenience.
1.1 Importance of Professional Installation
Professional installation of a Viper alarm system is critical to ensure proper functionality, safety, and reliability. Improper installation can lead to system malfunctions, false alarms, or even damage to your vehicle’s electrical system. A certified installer has the expertise to handle complex wiring, configure advanced features, and perform safety checks. DIY attempts may void the warranty or compromise security features. Professional installers also ensure compliance with manufacturer guidelines, optimizing performance and longevity. Prioritizing professional installation guarantees a seamless and secure setup tailored to your vehicle’s specific needs.
1.2 Overview of Viper Alarm Systems
Viper alarm systems are renowned for their cutting-edge technology and comprehensive security features. Designed to protect vehicles from theft and unauthorized access, these systems offer advanced functionalities like remote start, keyless entry, and impact sensors. With options for 1-way and 2-way communication, users can stay informed about their vehicle’s status through LCD displays or smartphone apps. Viper systems are compatible with most vehicles and provide customizable settings to enhance convenience and security. Their reputation for reliability and performance makes them a top choice among car owners seeking robust protection.

Pre-Installation Steps
Gather tools and materials, read the manual, and ensure vehicle compatibility. Plan the system setup carefully to avoid installation issues and ensure proper functionality.
2.1 Gathering Tools and Materials
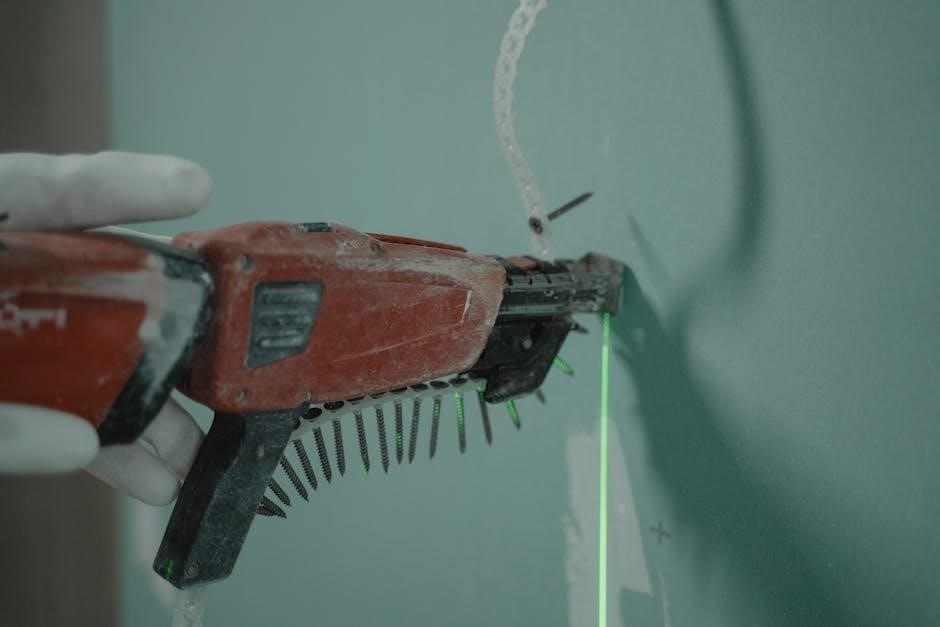
Before starting the installation, gather all necessary tools and materials to ensure a smooth process. This includes screwdrivers, wiring supplies, and the installation manual. Key items like the control unit, sensors, siren, and wiring harness must be readily available. Additionally, consult the manual for specific tools recommended for your Viper model. Ensure all components are compatible with your vehicle and that you have a clean, safe workspace. Organizing these items beforehand will help avoid delays and ensure proper system integration.
2;2 Reading the Installation Manual
Thoroughly reading the installation manual is essential for a successful setup. The manual provides step-by-step instructions tailored to your Viper model, ensuring compatibility and functionality. It outlines safety precautions, wiring diagrams, and specific installation requirements. Familiarize yourself with the system components and their roles. Pay attention to troubleshooting tips and error codes. This preparation ensures a smooth installation process and helps avoid common mistakes. Always refer back to the manual if uncertainties arise during the setup.

Installation Process
The installation process involves wiring connections, sensor installation, and mounting the control unit. Follow the manual for precise instructions to ensure functionality and security.
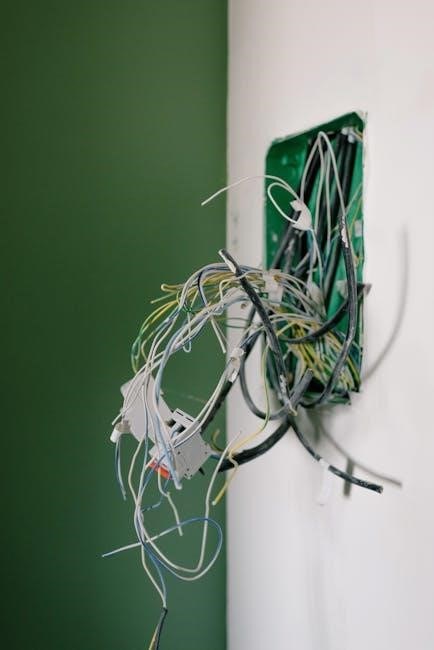
3.1 Wiring Connections and Diagrams
Wiring connections are critical for a functional Viper alarm system. The process involves connecting various wires to the vehicle’s electrical system, including door locks, ignition, and sensors. Use the provided wiring diagrams to identify each wire’s purpose and ensure proper connections. The 10-pin and 5-pin harnesses are key components, connecting the control unit to sensors and accessories. Consult the manual for specific wiring instructions tailored to your vehicle. Incorrect connections can lead to system malfunctions or damage. Always test wiring configurations before finalizing the installation to ensure reliability and performance.
3.2 Installing Sensors and Siren
Installing sensors and the siren is a crucial step in the Viper alarm setup. Start by placing door, hood, and trunk sensors to monitor all access points. The shock sensor should be mounted securely to detect impacts or tampering. Ensure the siren is installed in a visible and audible location, such as under the hood, to deter potential intruders. Use the wiring diagram to connect sensors to the control unit. Test each sensor to confirm proper functionality and adjust sensitivity as needed. Finally, ensure the siren is loud and visible to maximize its deterrent effect. Proper installation ensures reliable protection for your vehicle.
3.3 Mounting the Control Unit
Mounting the control unit securely is essential for system reliability. Choose a location that is protected from moisture and tampering, such as under the dashboard or in a concealed compartment. Ensure proper airflow to prevent overheating. Use screws or adhesive to fix the unit firmly in place. Once mounted, connect the wiring harness according to the diagram, ensuring all connections are secure. Double-check the wiring to avoid short circuits. After installation, test the system to confirm all features are functioning correctly. A well-mounted control unit ensures optimal performance and long-term durability of your Viper alarm system.
Post-Installation Testing
After installation, thoroughly test the system to ensure all features function correctly. Check sensors, remote start, and alarm responses. Verify reliability and perform a safety check.

4.1 System Testing and Safety Check
System testing ensures all components function as intended. Begin by activating the alarm and verifying the siren and LED responses. Test door sensors, shock sensors, and proximity features to confirm sensitivity levels. Conduct a remote start test, ensuring the vehicle starts and stops correctly. Perform a safety check by simulating unauthorized access and confirming the alarm triggers appropriately. Address any issues promptly, ensuring the system is reliable and safe to use. Proper testing guarantees optimal performance and peace of mind for vehicle security.
4.2 Remote Start Setup and Configuration
Remote start setup involves programming the system to integrate with your vehicle’s ignition and starter motor. Ensure the remote start module is correctly wired to the vehicle’s electrical system. Configure settings like timer start and automatic pre-heat/cool features. Test the remote start function to confirm proper operation. Always perform a safety check to ensure the vehicle is in park and the brake pedal is pressed before remote starting. Follow the installation guide for specific instructions to avoid errors and ensure safe, reliable performance.

Advanced Features and Customization
Viper systems offer advanced features like keyless entry, shock sensors, and smartphone integration. Users can easily customize settings and program functions for enhanced security.
5.1 Programming Additional Features
Programming additional features on your Viper alarm system enhances functionality. Keyless entry, remote start, and shock sensor sensitivity can be customized. Use the control center button to cycle through settings. Smartphone integration via SmartStart enables remote control. Follow the manual for step-by-step instructions. Ensure proper synchronization of remotes and sensors. Test all features post-programming to confirm operation. Customization ensures tailored security and convenience for your vehicle. Refer to the user guide for specific codes and sequences to activate advanced functions.

5.2 Optimizing System Performance
Optimizing your Viper alarm system ensures maximum efficiency and reliability. Regularly check wiring connections to prevent interference. Update software and firmware to access the latest features. Adjust sensor sensitivity to reduce false alarms. Test remote range and ensure proper antenna placement. Consult the manual for advanced settings like timer adjustments and feature customization. Ensure all components are securely mounted to avoid vibrations. Proper maintenance enhances system performance, providing consistent security and convenience. Regularly review and update settings to adapt to your vehicle’s needs and environment.
Troubleshooting Common Issues
Troubleshooting Viper alarm issues involves identifying wiring faults, understanding error codes, and resolving sensor malfunctions. Regular system checks ensure reliable performance and address potential problems early.
6.1 Identifying and Resolving Wiring Problems
Wiring issues are common during Viper alarm installations. Start by reviewing the wiring diagram in the manual to ensure all connections are correct. Check for short circuits, loose wires, and improper grounding, which can trigger false alarms or system failure. Use a multimeter to test voltage and continuity. If the siren or sensors malfunction, inspect their wiring for damage or interference. Consult the error codes in the manual for specific guidance. Ensure all connections are secure and protected from moisture. Regularly inspect wiring for wear and tear to prevent future issues. If problems persist, seek professional assistance to avoid system damage.
6.2 Understanding Error Codes and Solutions
Viper alarm systems use error codes to indicate specific issues, such as wiring faults or sensor malfunctions. Refer to the installation manual for a list of codes and their meanings. The system’s LED indicator may flash patterns to signal errors, while the siren chirps to confirm certain conditions. For example, a single chirp might indicate a low battery, while multiple chirps could signal a sensor trigger. Use the manual’s troubleshooting guide to diagnose and resolve problems. Ensure all connections are secure and test sensors for proper functionality. If issues persist, consult a professional installer to avoid further complications;

Maintenance and Upkeep
Regular system checks, battery inspections, and software updates ensure optimal performance. Clean sensors, verify wiring connections, and test remote functionality to maintain reliability and security over time.
7.1 Regular System Checks
Regular system checks are essential to ensure your Viper alarm operates efficiently. Start by inspecting the control unit and sensors for any signs of damage or wear. Test the remote start functionality to confirm it works seamlessly. Check the siren’s volume and ensure all wiring connections are secure. Review the alarm’s error codes and clear any stored issues. Additionally, verify that all features, such as keyless entry and impact sensors, are responding correctly. Perform these checks monthly to maintain system reliability and address potential issues before they escalate.
7.2 Updating Software and Firmware
Regular software and firmware updates are crucial for maintaining your Viper alarm system’s performance and security. Check for updates through the SmartStart app or the manufacturer’s website. Ensure your system is connected to the internet for automatic updates. Follow the on-screen instructions to download and install the latest version. Updates often include new features, bug fixes, and enhanced security measures. Always back up your settings before performing an update. If you encounter issues, consult the user manual or contact professional support to avoid system damage. Keeping your system updated ensures optimal functionality and protection.
Installing a Viper alarm system ensures enhanced vehicle security and convenience. By following the installation guide, you can enjoy advanced features like remote start and keyless entry. Regular maintenance, updates, and professional assistance are key to optimal performance. The Viper system offers peace of mind, protecting your vehicle from theft and unauthorized access. With proper care, it will provide long-lasting reliability and convenience, making it a valuable investment for any car owner. Always refer to the manual for troubleshooting and updates to keep your system running smoothly and securely.